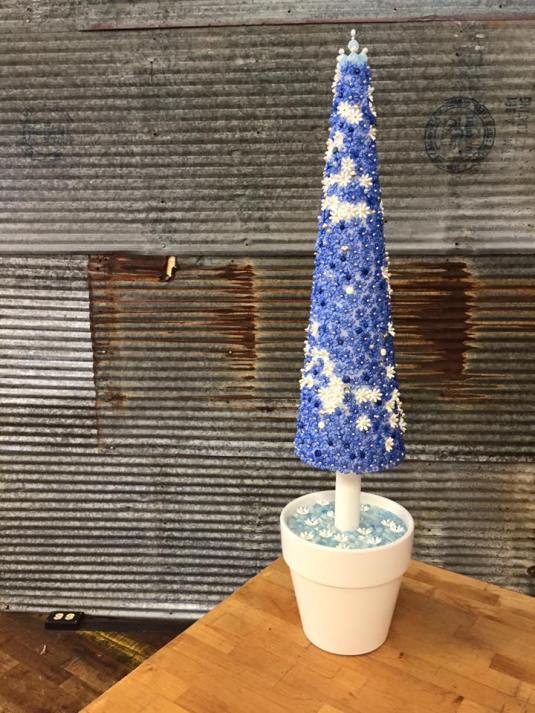
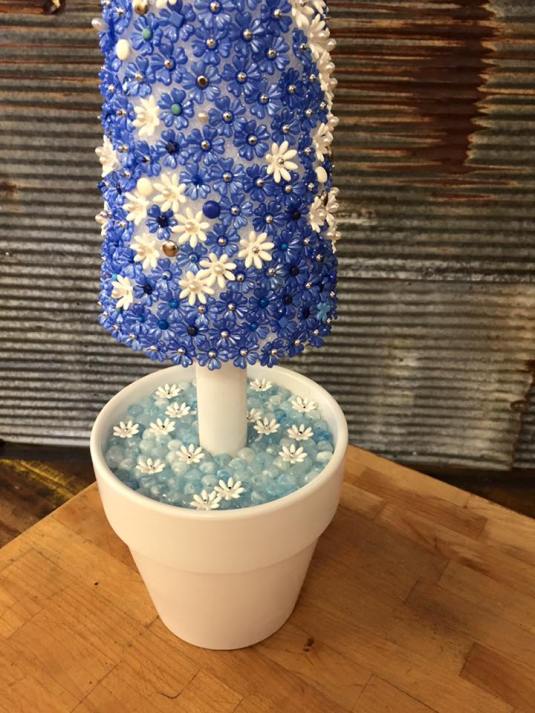
Soooooooo, I had all these fun goodies lying around the studio…….

white flowers

Pins

silver beads

blue flowers

blue sparkles

corsage pins

OLYMPUS DIGITAL CAMERA
And I decided to make this……..
Trashy Stuff Made by a Not-so-Trashy Chick…….and a few random southern adventures
22 Nov 2015 Leave a comment
in Just Stuff
Soooooooo, I had all these fun goodies lying around the studio…….
And I decided to make this……..
02 Jul 2015 Leave a comment
in Just Stuff Tags: voodoo dolls
My niece has been staying with us for a few weeks and we have done all kinds of fun and creative things.
Dying our hair blue was one of our endeavors.

blue hair before
Shaving a portion of that pretty blue hair off my nieces head came next….

blue hair after
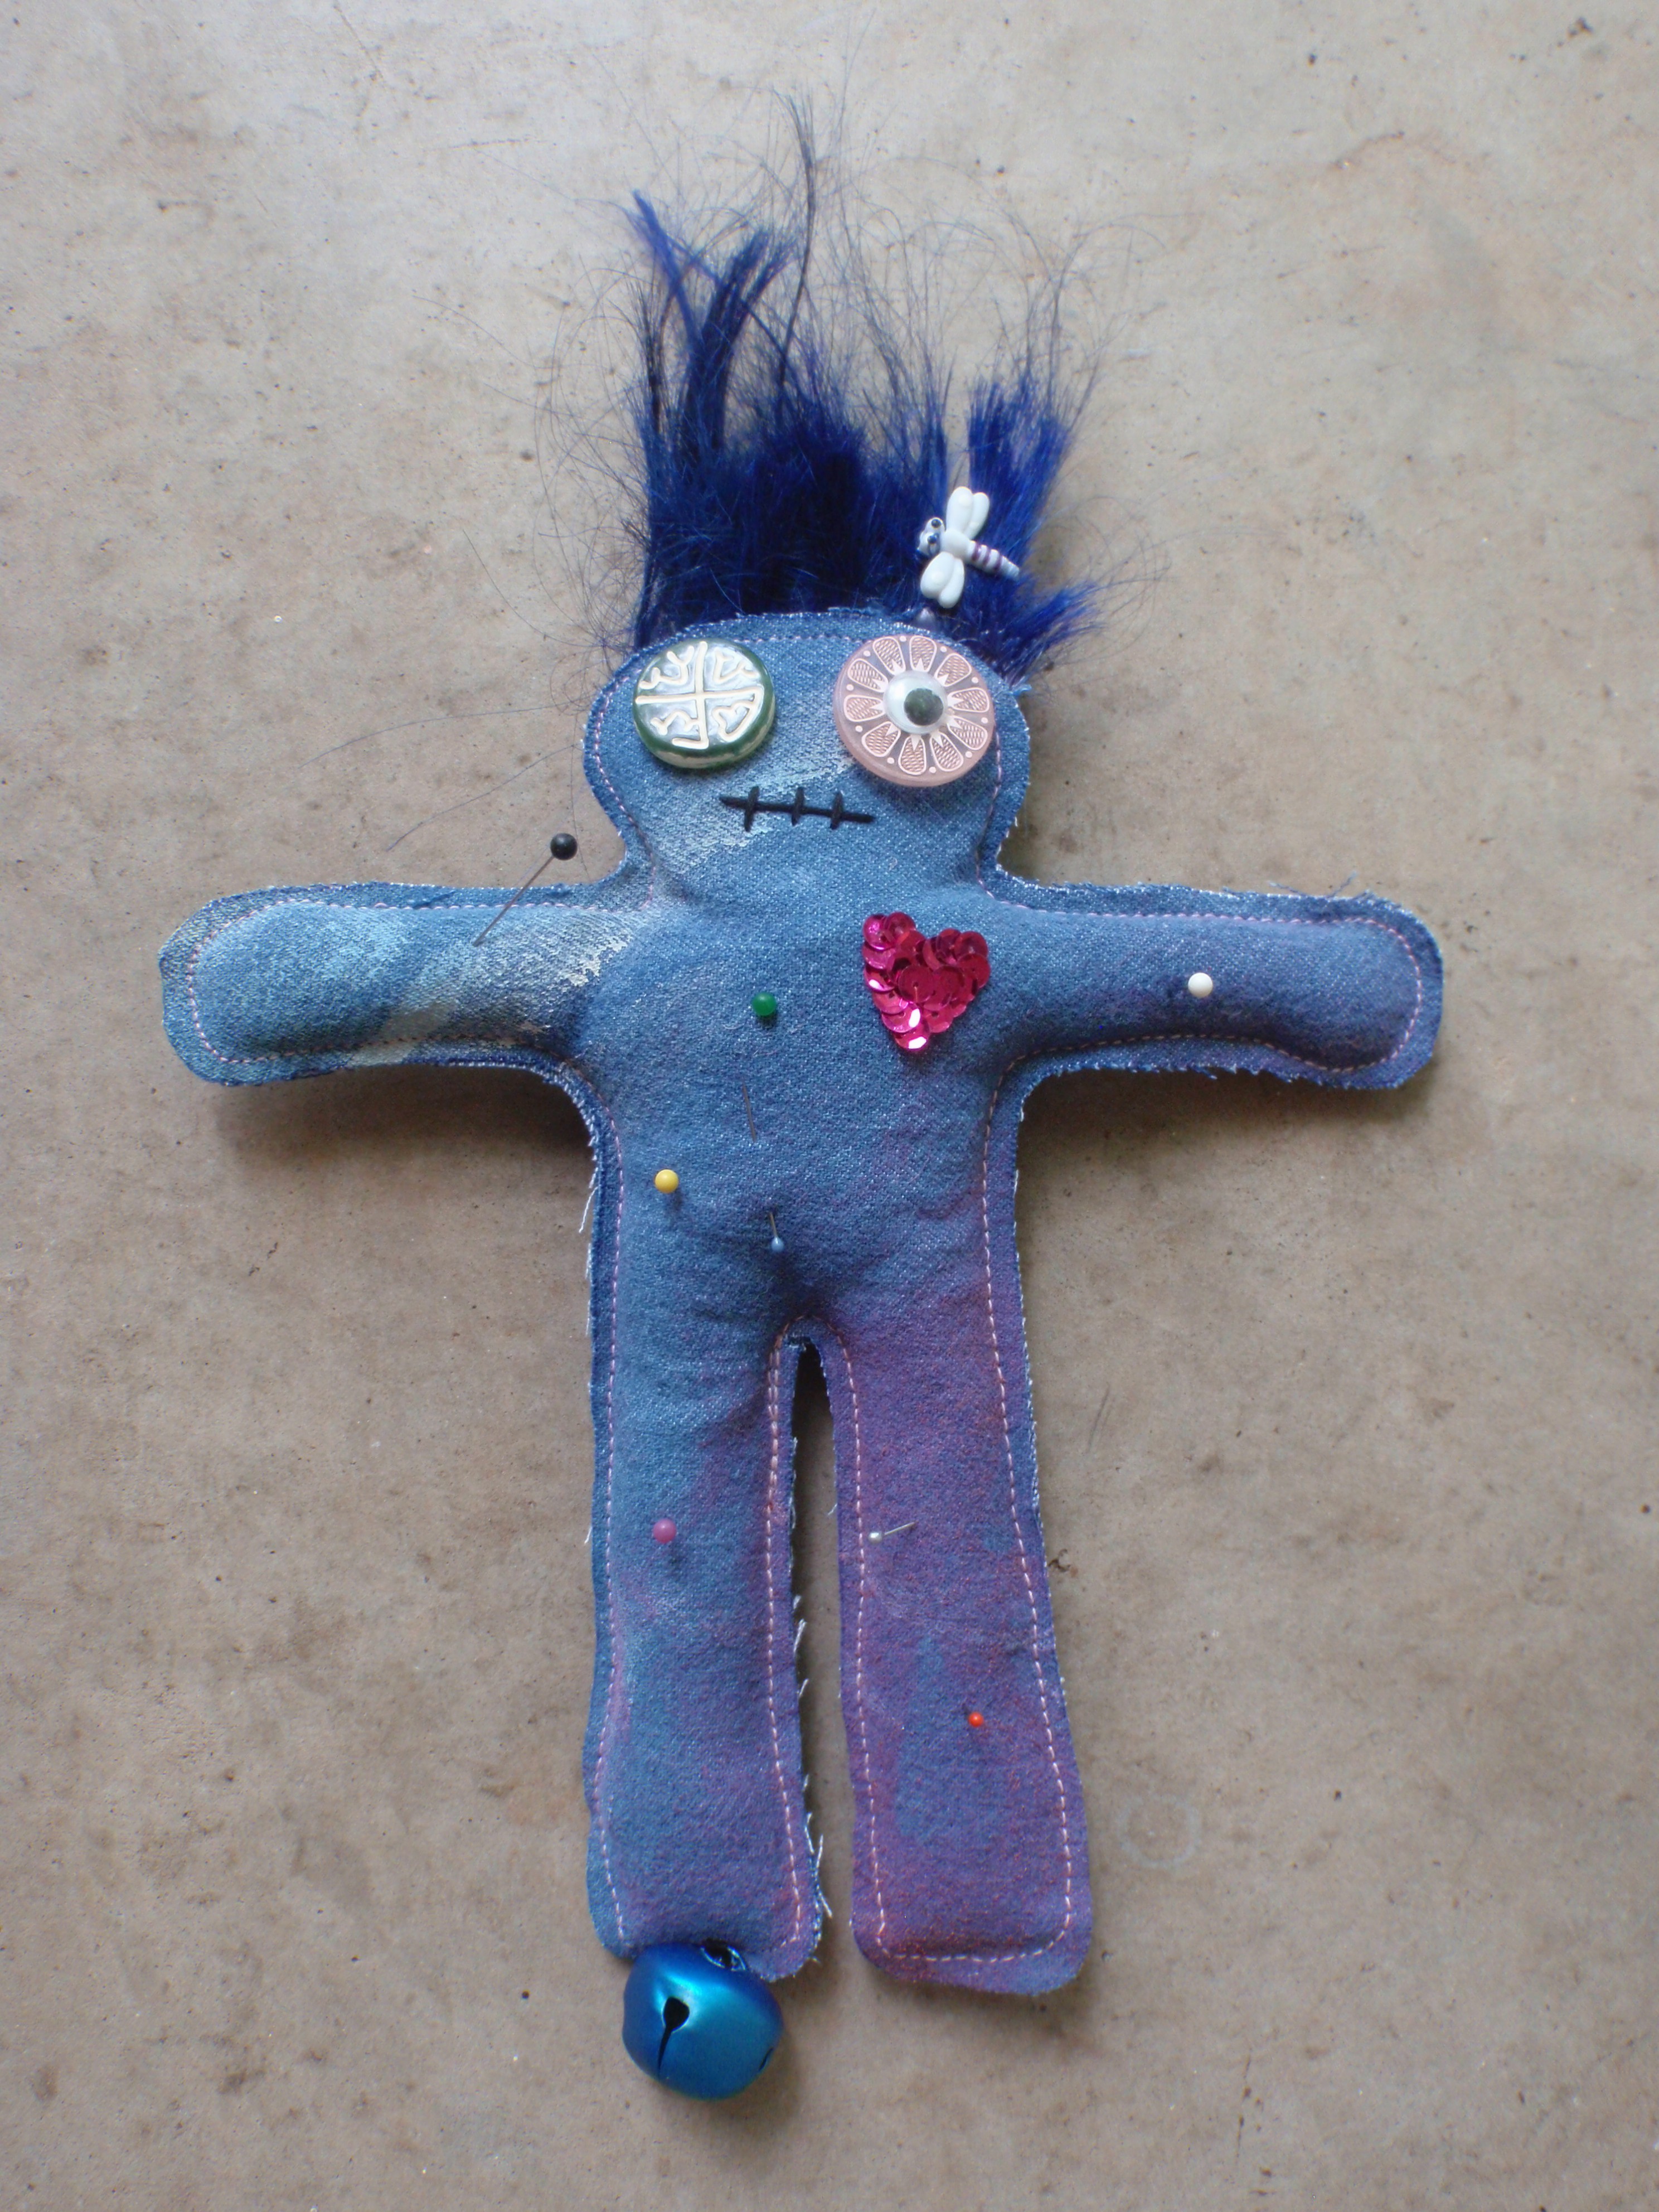
I hated to throw that vibrant blue hair away so I came up with the idea to make voodoo dolls, of course!

double voodoo

my voodoo
Savannah’s voodoo
Savannah and I worked on these together and they each have a few personal touches.

voodoo backs
I just made a very simple pattern from an old file folder.

simple pattern
And used some old denim I have been using as a painting drop cloth to make the bodies.
We are both very happy with our dolls and will always have them as a fun memory of our time together.
26 Nov 2014 Leave a comment
in It's a Real Corker!, Just Stuff
*
The golf course I worked at had a lot of old oil and hydraulic fluid barrels sitting around in the yard
So like any normal person would…….
I came up with this idea

*
*
And because everybody likes to learn new stuff here’s some info from Wikipedia…
Bung
A bung, stopper or cork is a truncated cylindrical or conical closure to seal a container, such as a bottle, tube or barrel. Unlike a lid, which encloses a container from the outside without displacing the inner volume, a bung is partially inserted inside the container to act as a seal.
A glass stopper is often called a “ground glass joint” (or “joint taper”), a rubber stopper is sometimes called a “rubber bung”, and a cork stopper is called simply a “cork”. Bung stoppers used for wine bottles are referred to as “corks”, even when made from another material.
A common every-day example of a bung is the cork of a wine bottle. Bungs are used to seal the bunghole of barrels. Other bungs, particularly those used in chemical barrels, may be made of metal and be screwed into place via threading.
09 Oct 2014 3 Comments
in 99 Bottles of Beer on the Wall, Just Stuff
So there I am, happily driving down one of my neighborhood streets, when I happen to spot an interesting wooden formation on the side of the road. I stop, investigate, and determine that I must have it. My husband happens to be out of town at the time and I can’t lift it myself so I borrowed my friend and neighbor to help me get it back to my house.

* *
*
I removed the 2X4 from the interior of the bottom, filled holes with wood putty, sanded, vacuumed, and tightened a few screws.
 *
*
Then I had one one of the guys I work with cut 4 legs out of a 4×4 and I added them.
 *
*
I then painted the entire table with a sealer and then with gray paint.
 *
*
Then it was time to have another friend help me move the table into the house to finish. The 90 degree temps in the garage were not my favorite working conditions.
 *
*
 *
*
And now the real fun begins. I knew this is what I wanted to do from the moment I saw that wood ‘thing’ on the side of the road. I wanted to cover it with these bottle caps so lovingly saved for me by my friend Jessie! I also had a decent assortment of other red themed bottle caps to mix in. I was ready to glue!!!!! (I LOVE to glue)
 *
*
And the finished product…….many days later.
 *
*
 *
*
 *
*
 *
*
 *
*
 *
*

Thank you to Jessie, Nick, Keith, Marshall, Charlayna, Michael, & Bennett Nursery for helping me with my bottle cap collection!
22 Jun 2014 Leave a comment
in Journals
Vintage lace is in!
Burlap is in!
What do you get when you combine vintage lace and burlap?

I included some old hardware into this one.
*

This one includes a vintage hat pin.
*

*

Used part of an old belt to decorate this one.
I’m busy making more!
*
06 Mar 2014 2 Comments
in Can I Have That Shirt When You Are Done Wearing it?, Journals, Uncategorized
****
This past Saturday at Lowe Mill one of my fabulous customers dropped by with a project for me. She had cut pieces out of some old shirts to make into a quilt. As is so often the case (at least I know it is with me) the quilt never became a reality and the pieces sat on a shelf. Then she realized they would make the perfect journal cover and brought them to me 🙂
This is what happened next……


I had to make 2 more petals to make everything fit correctly so I picked a fun flowery fabric.
I debated on the background fabric for quite a while and decided to go with the black to really make the muted colors pop.
I hope she likes it!
26 Dec 2013 Leave a comment
in Journals
*
Boy have I been stock piling some cool journal making goodies!
Been in the mood to collage lately and decided to start with some chocolatey goodness…..

*
Some of the wrappers still smell like chocolate!
18 Aug 2013 Leave a comment
in Journals, Just Stuff
I love denim.
I love beat up, torn up, old blue jeans.
I love how the fabric changes color with age and use.
I love how soft old blue jeans are.
I love making things out of old denim.
A few weeks ago I put a call out at work that if anybody had jeans lying around the house they didn’t wear anymore they should bring them to me.
I got some that were very well worn and others that just didn’t fit any more.
They all work.


The pink flowers and blue butterfly are from a set of curtains given to me by a friend.
The sunflowers were found at a thrift store in Cullman, Alabama.
12 Jul 2013 1 Comment
in 99 Bottles of Beer on the Wall, How To............., Stoned
*
 Prepping the mold
*
 Smoothing out the cement
*
 Keely putting the design in her Day & Night stone
* Adding the bling
*
 Placing the bottle caps
*
 The finished Day & Night Stone
*
 The finished Bottle Cap stone
05 Jul 2013 1 Comment
in How To............., Just Stuff, Stoned
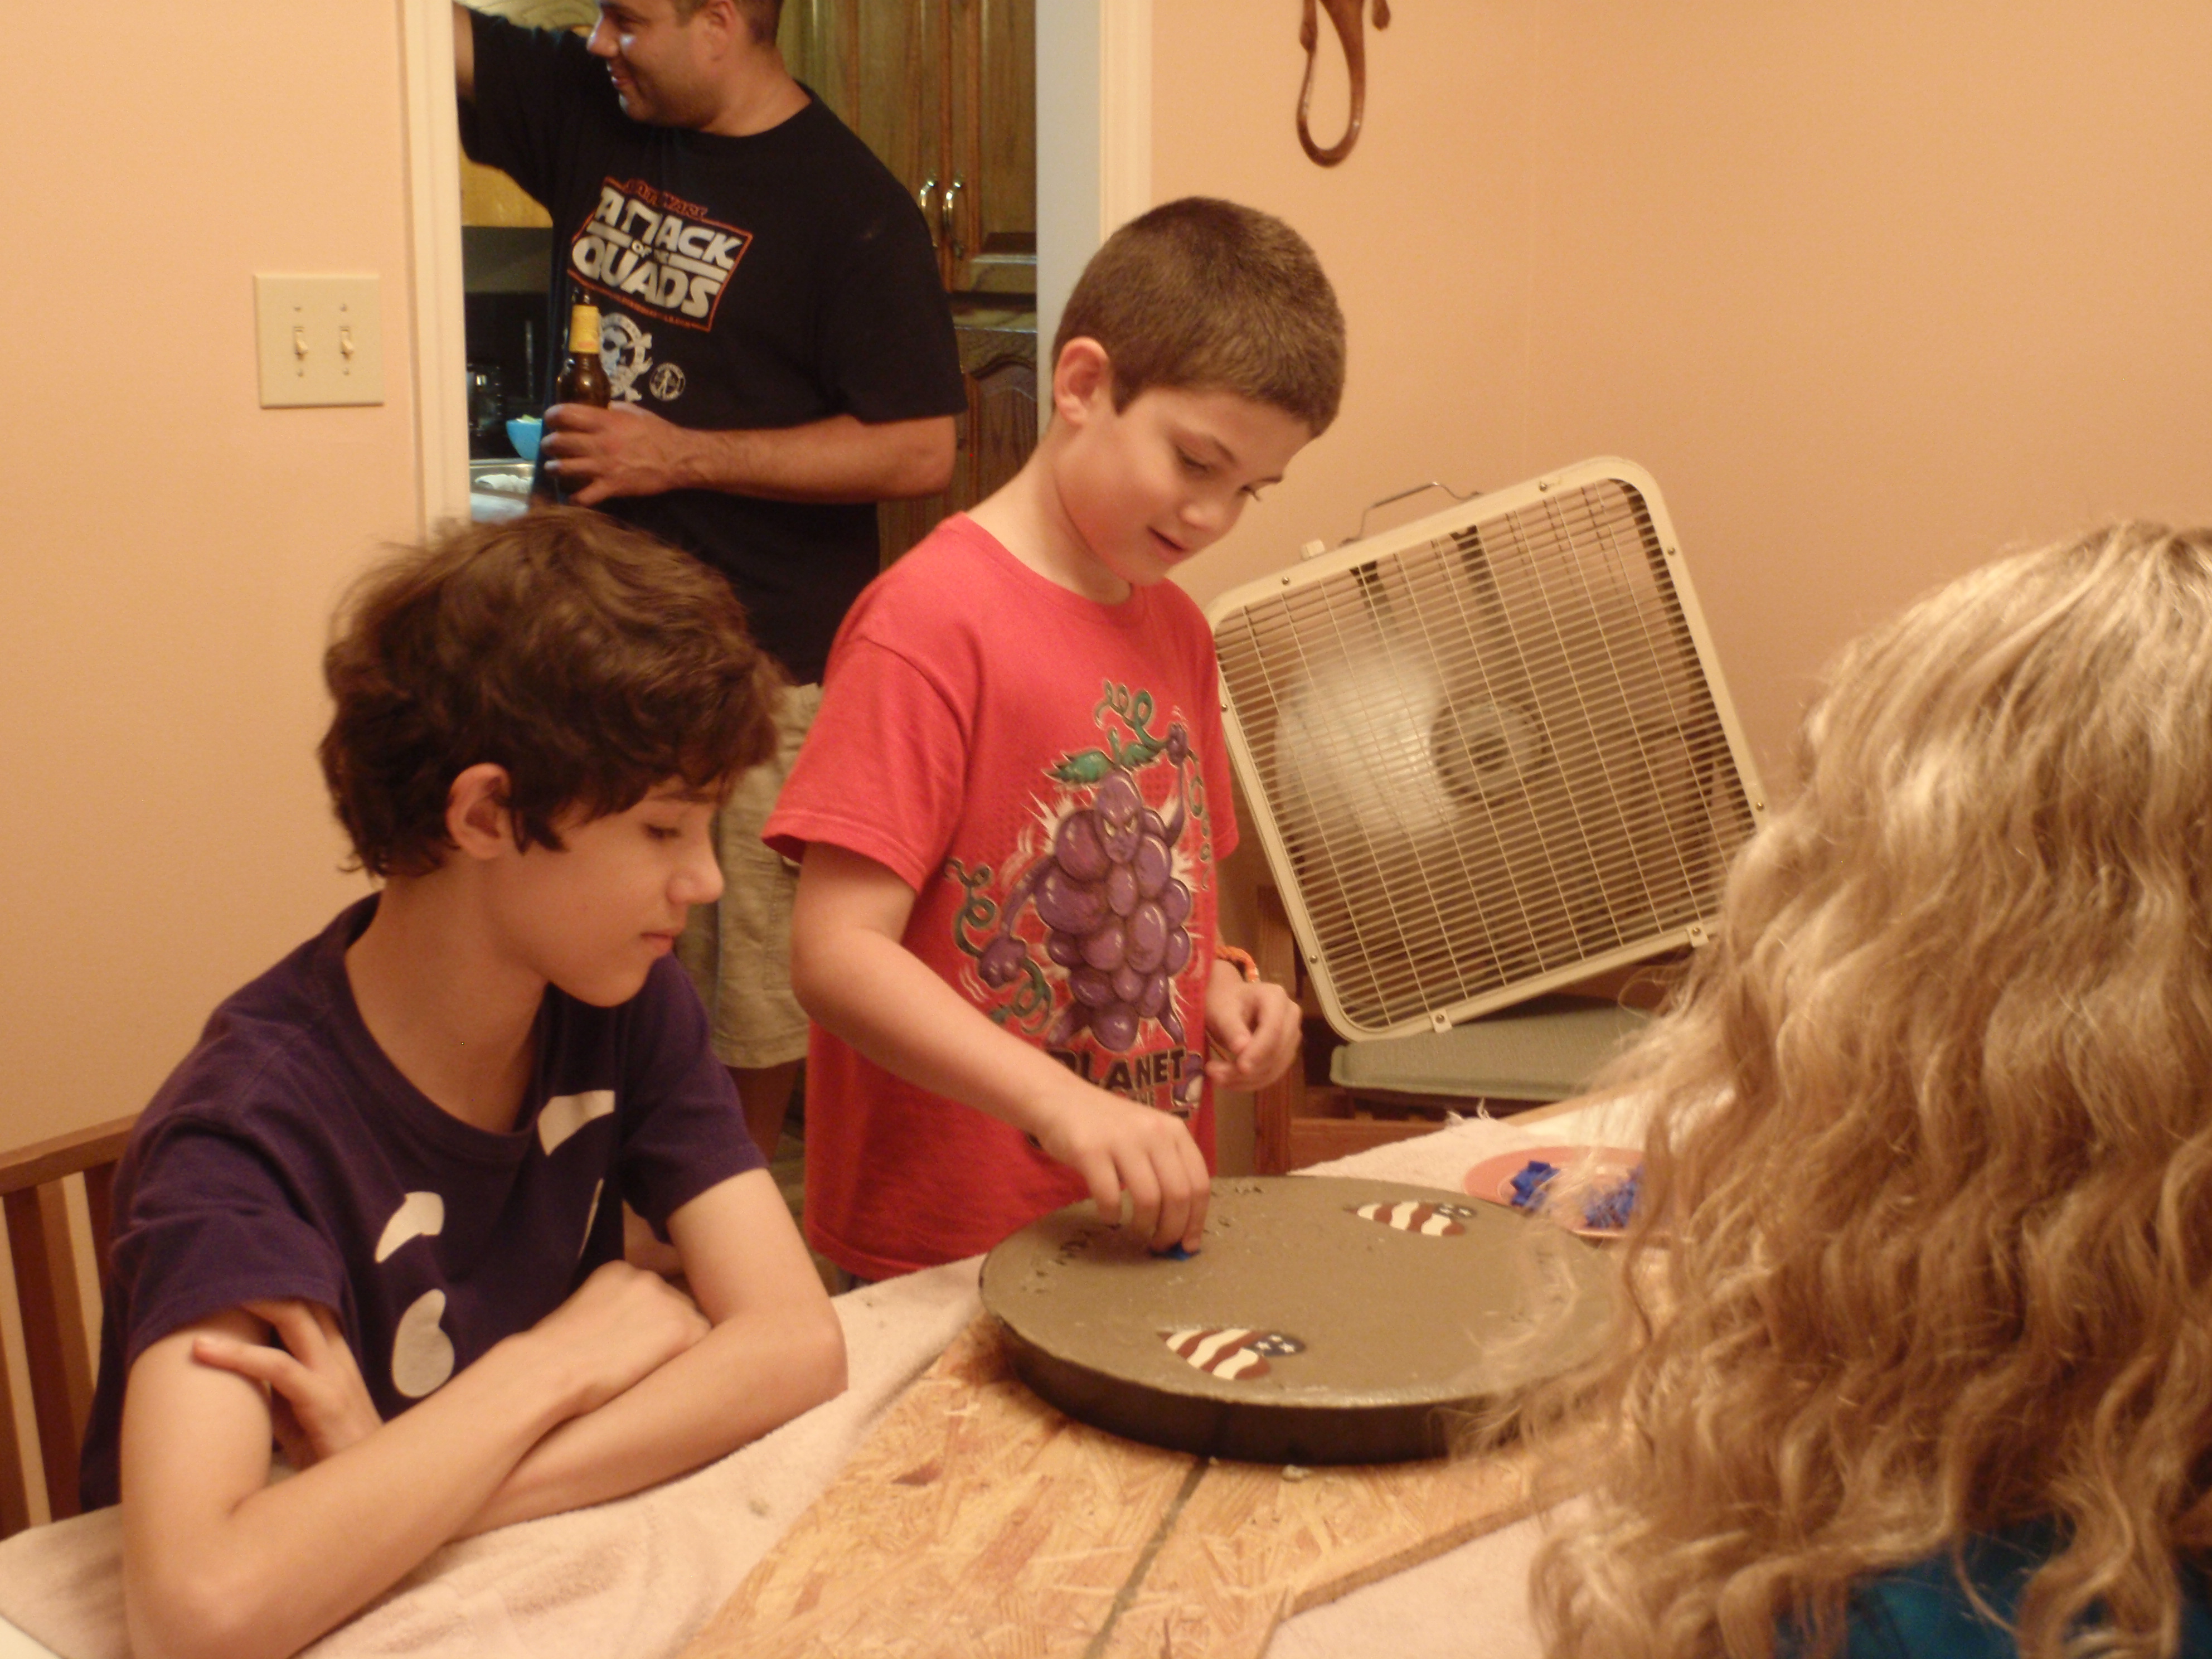
Being as we are in stepping stone mode it seemed appropriate to make one in honor of our 4th of July get-together.
*
 Keely coating the mold with petroleum jelly.
*
 The cement is poured and ready to go…….
*
 Looking for the right letters
*
 Thomas is first
*
 Micah
Micah
*
 Maddy
Maddy
*
 Isaiah
*
 Keely
Keely
*
 John
John
*
 Cheree
*
 Ivan
Ivan
*
 Michael
Things we learned……..
This is the first time we have used the letter stamps. We knew that the cement needed to sit for awhile before we used the stamps so it would firm up a bit. We let it sit about 1 1/2 hours but that wasn’t long enough. Next time I would wait 3 hours before stamping.
 Here it is, 12 hours later, still in the mold, still drying. We will leave it in the mold until sometime tomorrow.
I’ll show you the finished stone in a future post 🙂
 *
* *
*